How to Create a Dedicated ParkMyCloud IAM User within AWS
How to Create a Dedicated ParkMyCloud
IAM User within AWS
The procedure outlined below, will help you create a dedicated IAM user within AWS, which sits outside of any groups and is locked down to very restrictive policies. You can use a credential generated from this IAM user with ParkMyCloud.
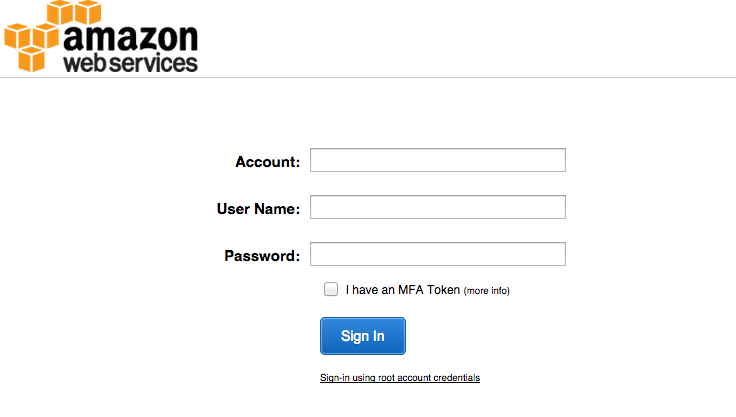
Step 1 - Login to the AWS console
Go to the AWS console and login as normal: (https://aws.amazon.com)

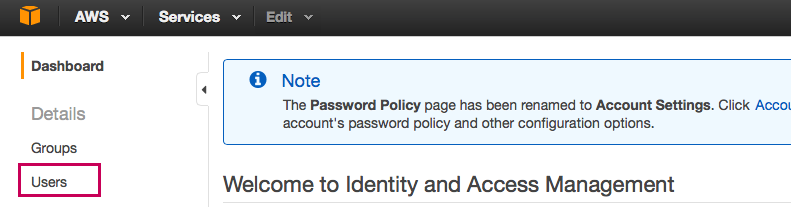
Step 2 - Create a new user
Select IAM:

Select Users:
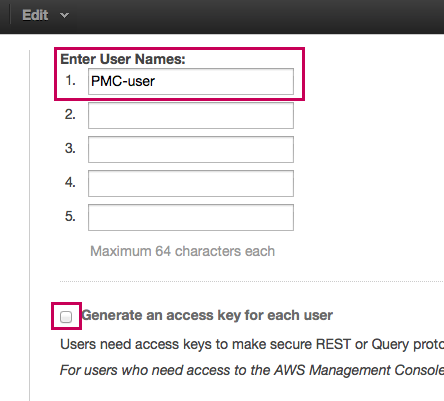
Create New User:

Give the user a name and uncheck “Generate an access key …” (We’ll do that later):
Select the user to edit:

You’ll notice your account number (you’ll need that later):

Step 3 - Create the inline policy for EC2 Access
Scroll down to the “Inline Policy” section, open it up & select “click here”:

Select “Custom Policy” and click on “Select”:

1. Name your policy (e.g., parkmycloud-ec2-policy)
2. Copy and paste this policy in:
{
"Version": "2012-10-17",
"Statement": [
{
"Action": [
"ec2:StartInstances",
"ec2:StopInstances"
],
"Resource": [
"arn:aws:ec2:*:<Your account number here>:instance/*"
],
"Effect": "Allow"
},
{
"Action": [
"iam:GetUser",
"ec2:Describe*"
],
"Resource": [
"*"
],
"Effect": "Allow"
}
]
}
3. Validate your policy.
4. If everything is OK, then apply the policy

Your inline policy should be complete:

Step 4 - Create the credentials for ParkMyCloud
Scroll down to the Credential Section and select “Create Access Key”:

Click on “Show User Security Credentials”. Copy those to the same temporary file as your account ID.
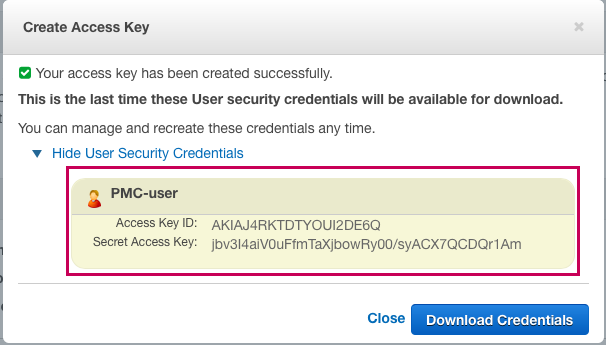
Select “Close” when done.

Step 5 - Register for a ParkMyCloud account
You now will have a temporary file with your Account ID, Access Key ID and Secret Access ID.
NOTE: This file is intended as a temporary scratch pad file to make it easy to cut & paste these values into the ParkMyCloud application. If you choose to save it to disk, then it is recommended you encrypt it with password protection and/or make it read-only for only your user account.
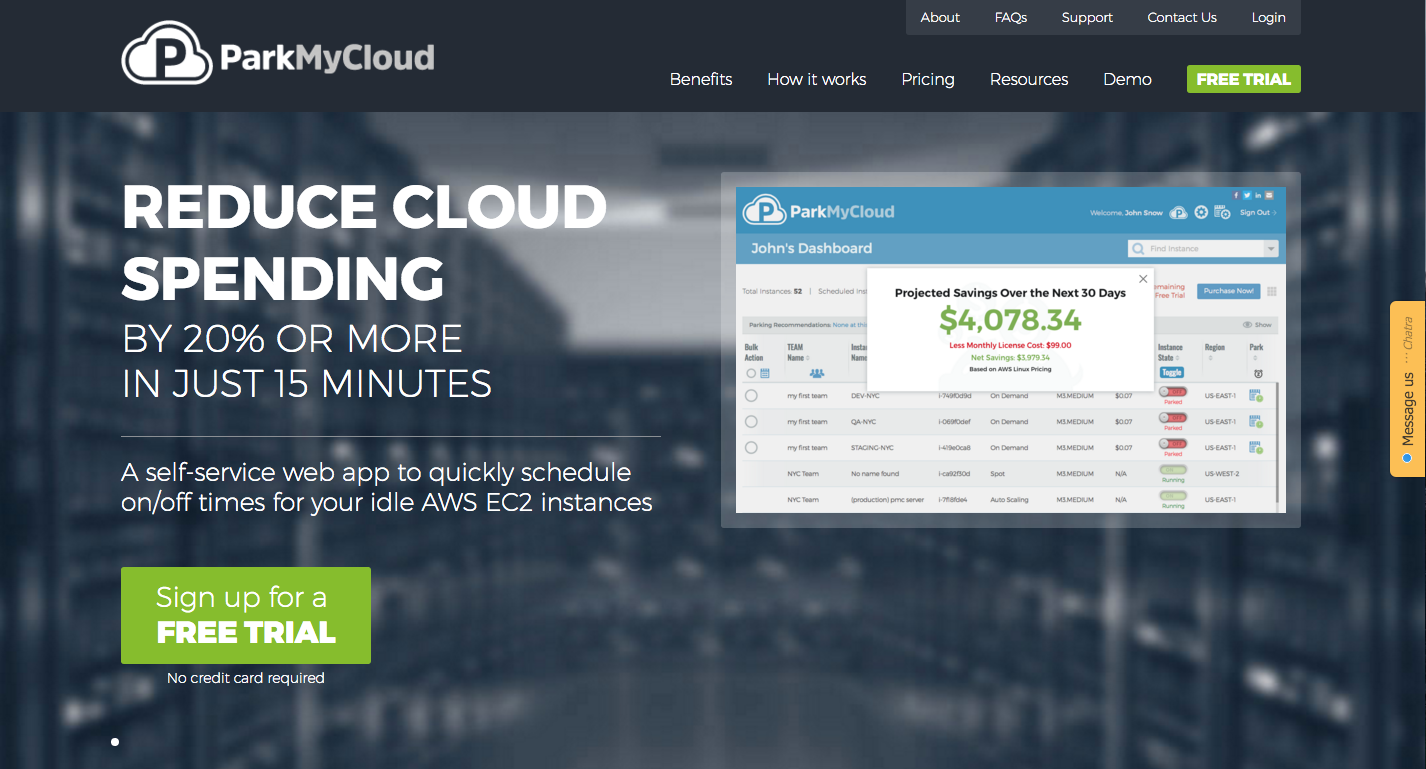
Start Your Free Trial
Go to http://www.parkmycloud.com and select “Sign up for a FREE TRIAL”.
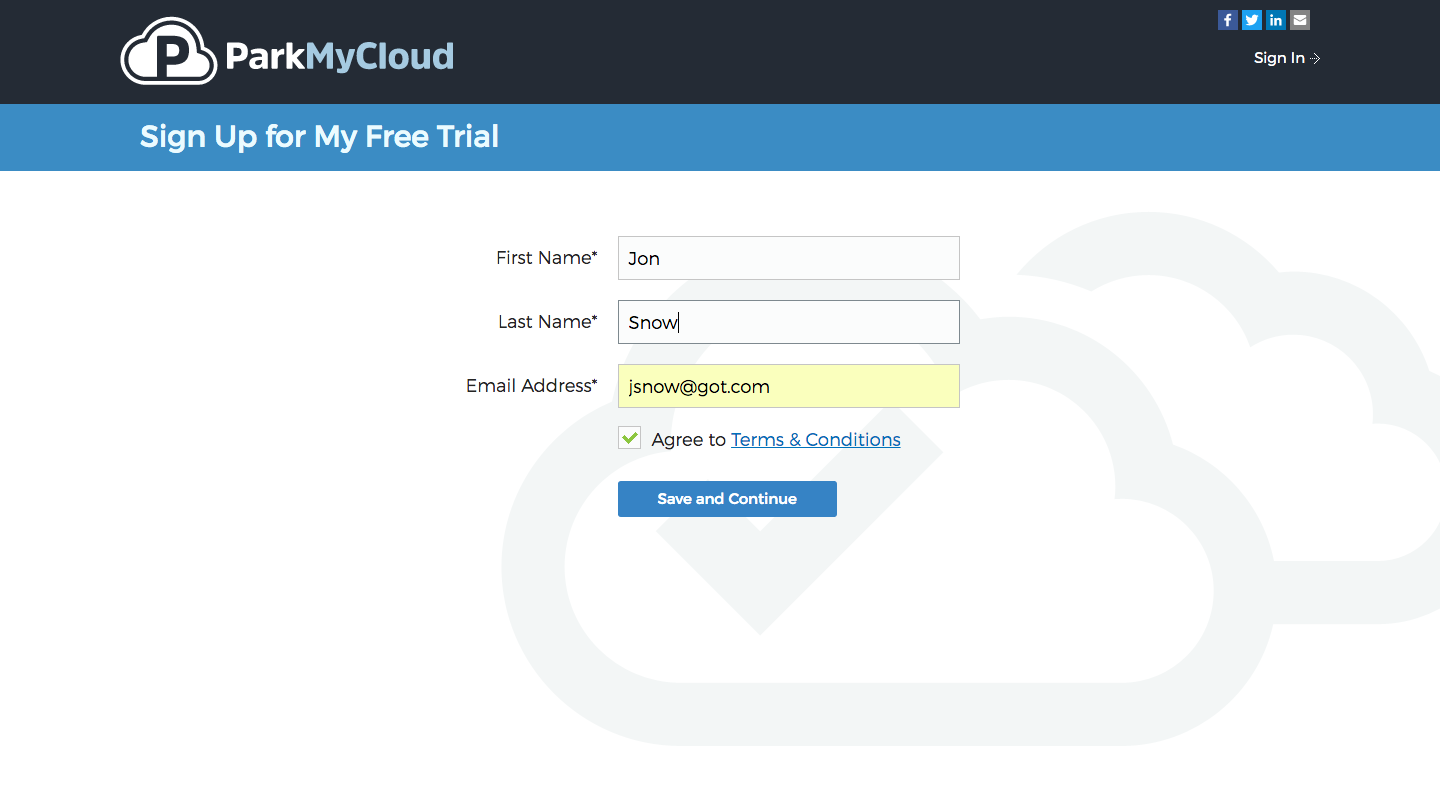
Enter you name and email address to get started:
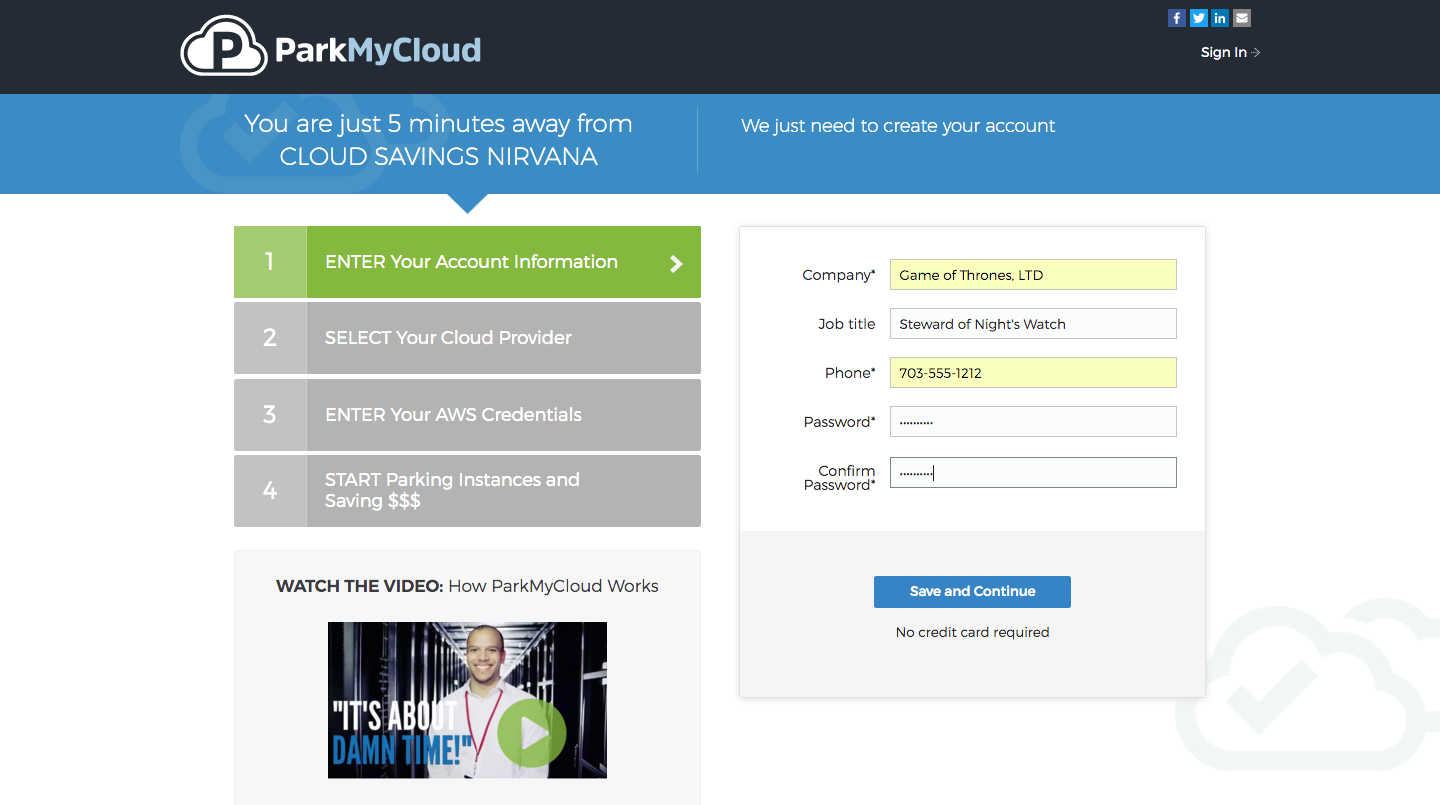
Then finish adding information about your company and your password and select "Save & Continue":
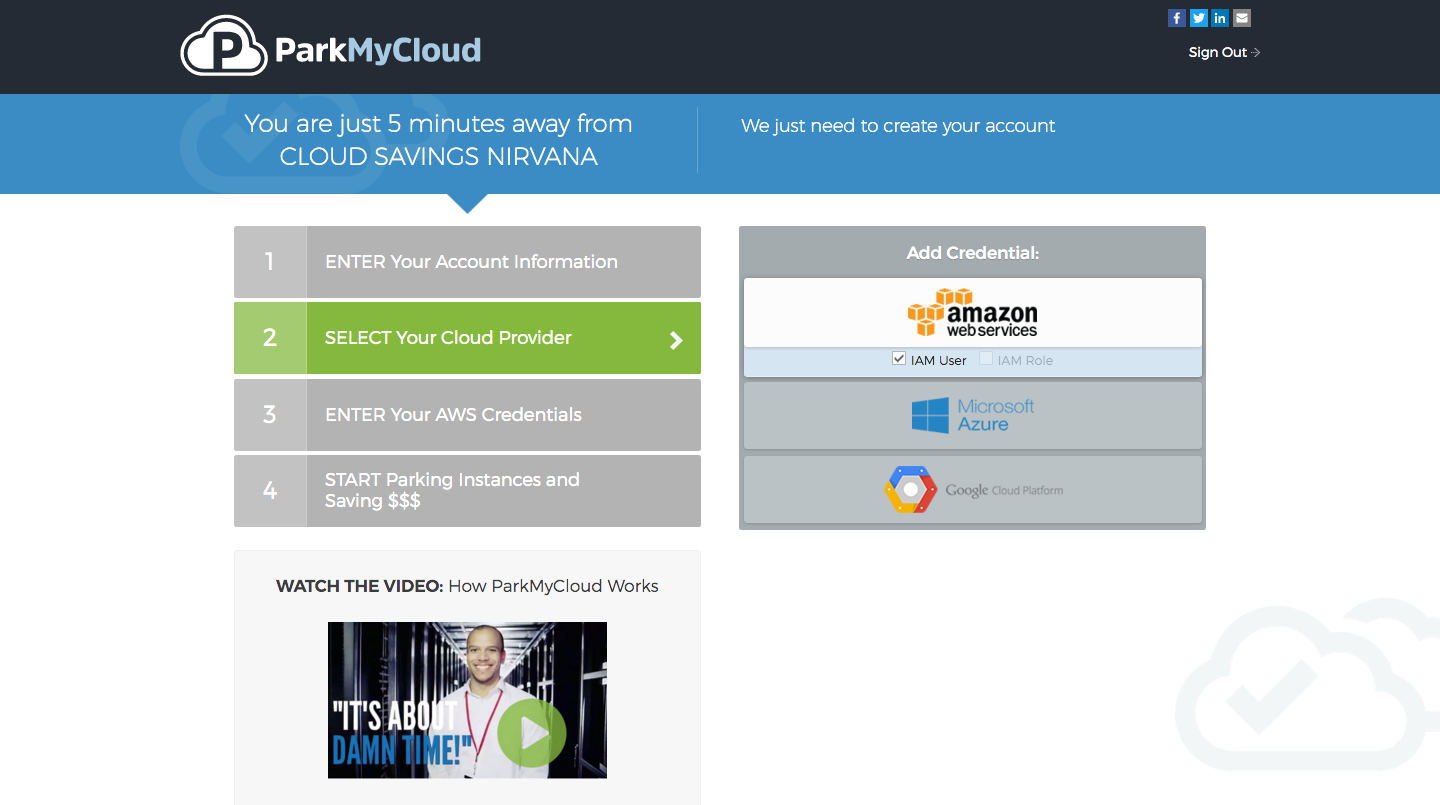
Next: Select Your Cloud Provider. We only support AWS right now, so click on the "Amazon Web Services" button:
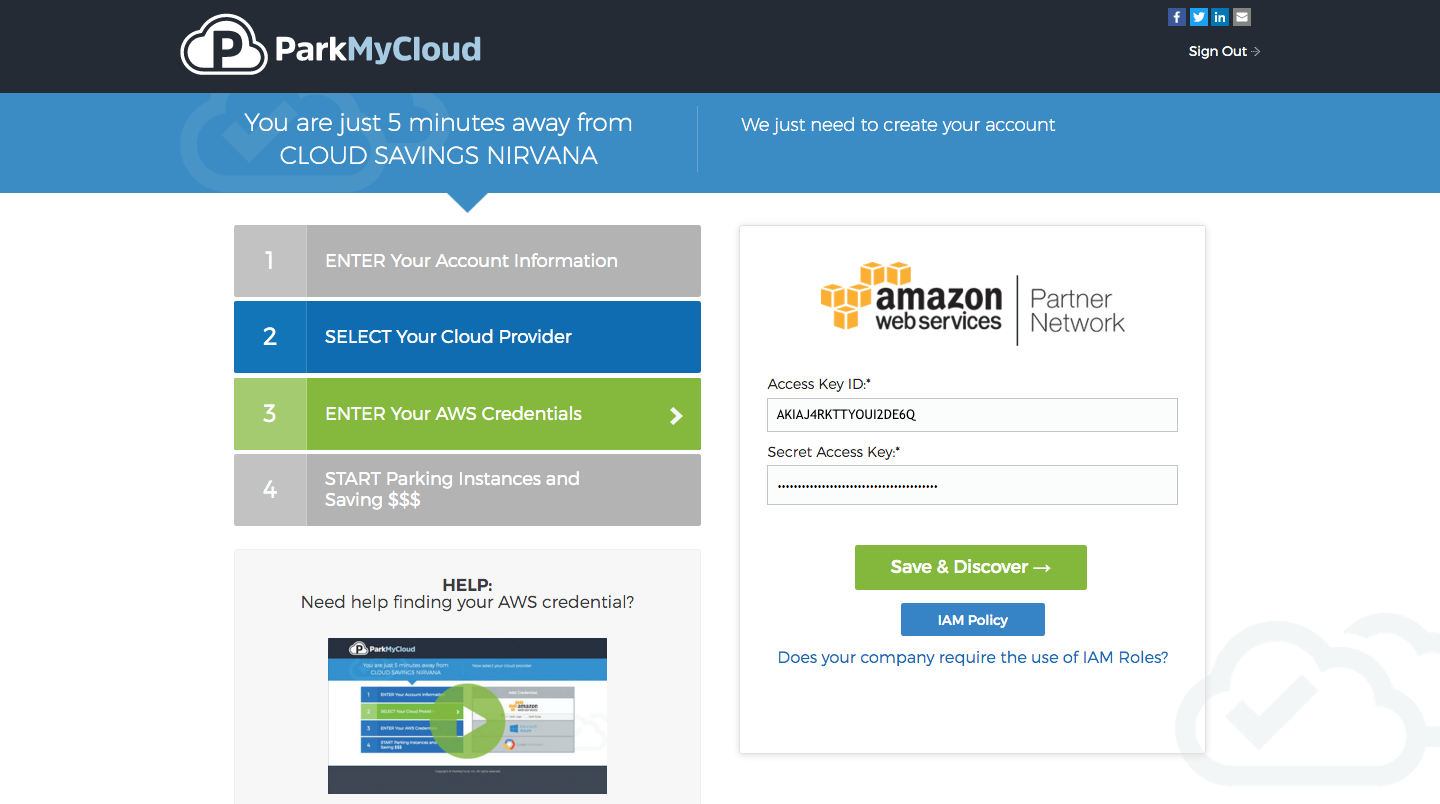
Step 6 - Enter your credentials and discover your EC2 resources
Copy & paste your access Key ID and secret Key ID as shown
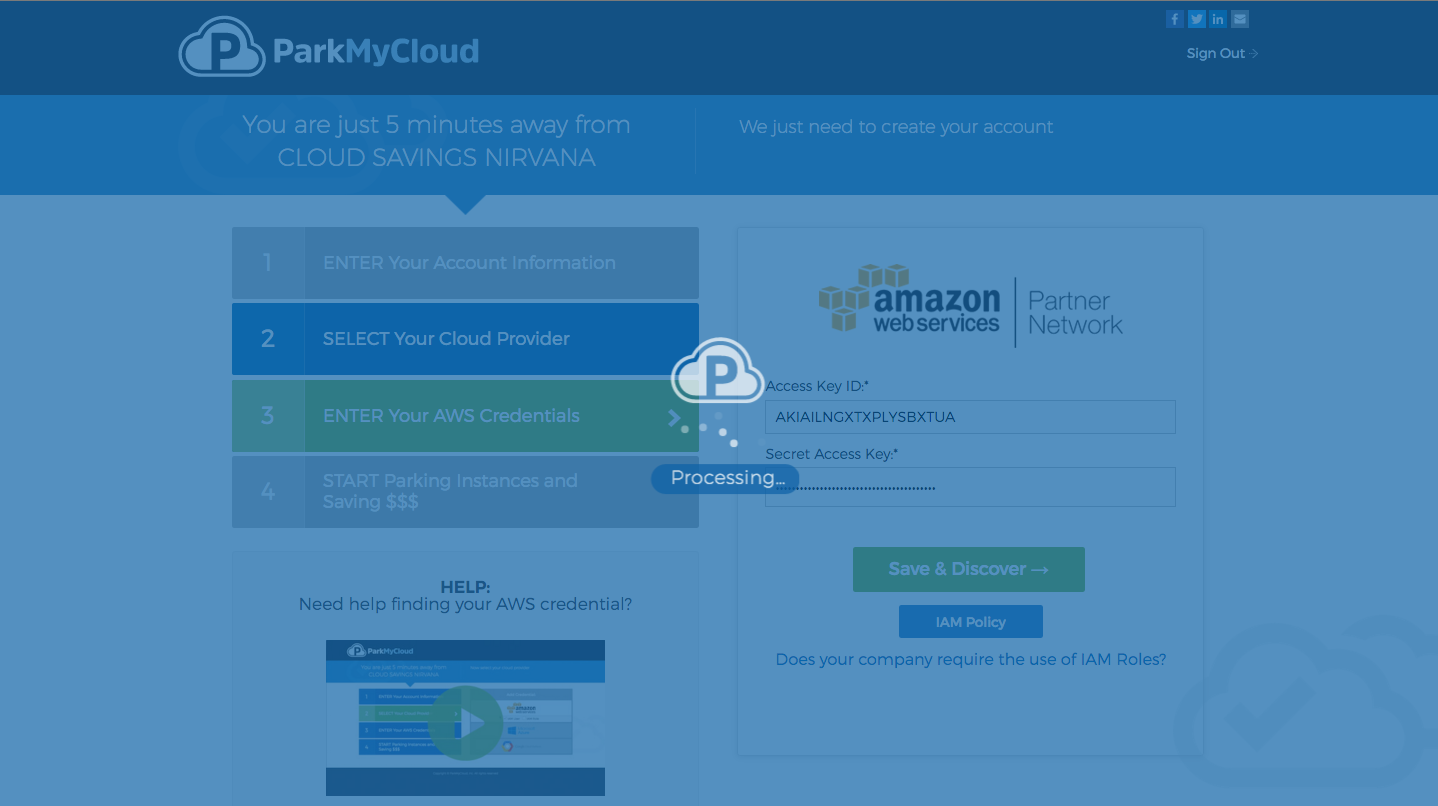
You should get a notification that your credentials are valid. Select “OK”:
The metadata about your instances will be discovered and ingested ...
... and displayed on your dashboard:
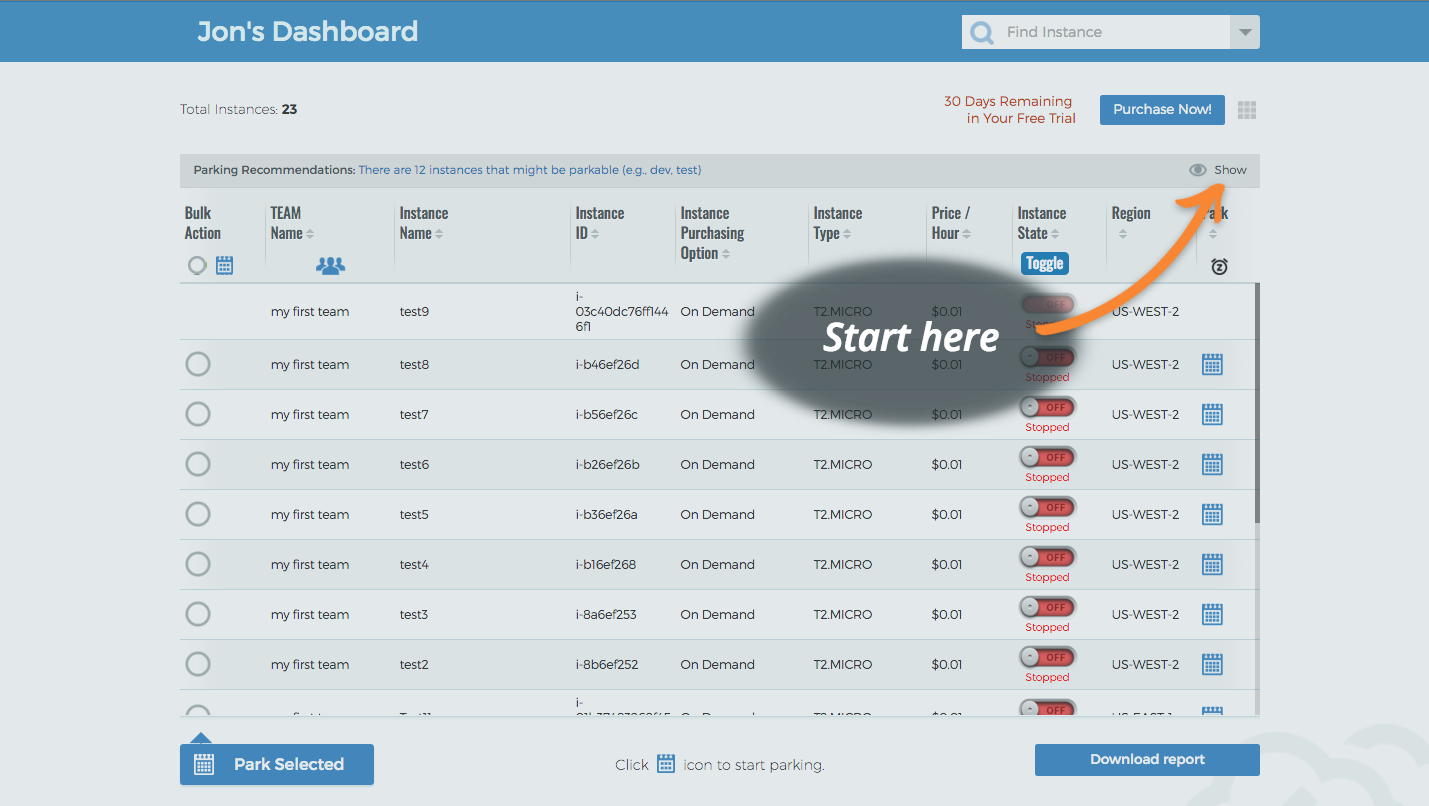
From there you will be directed to the Parking Recommendations to park your instances. Just click "Show".
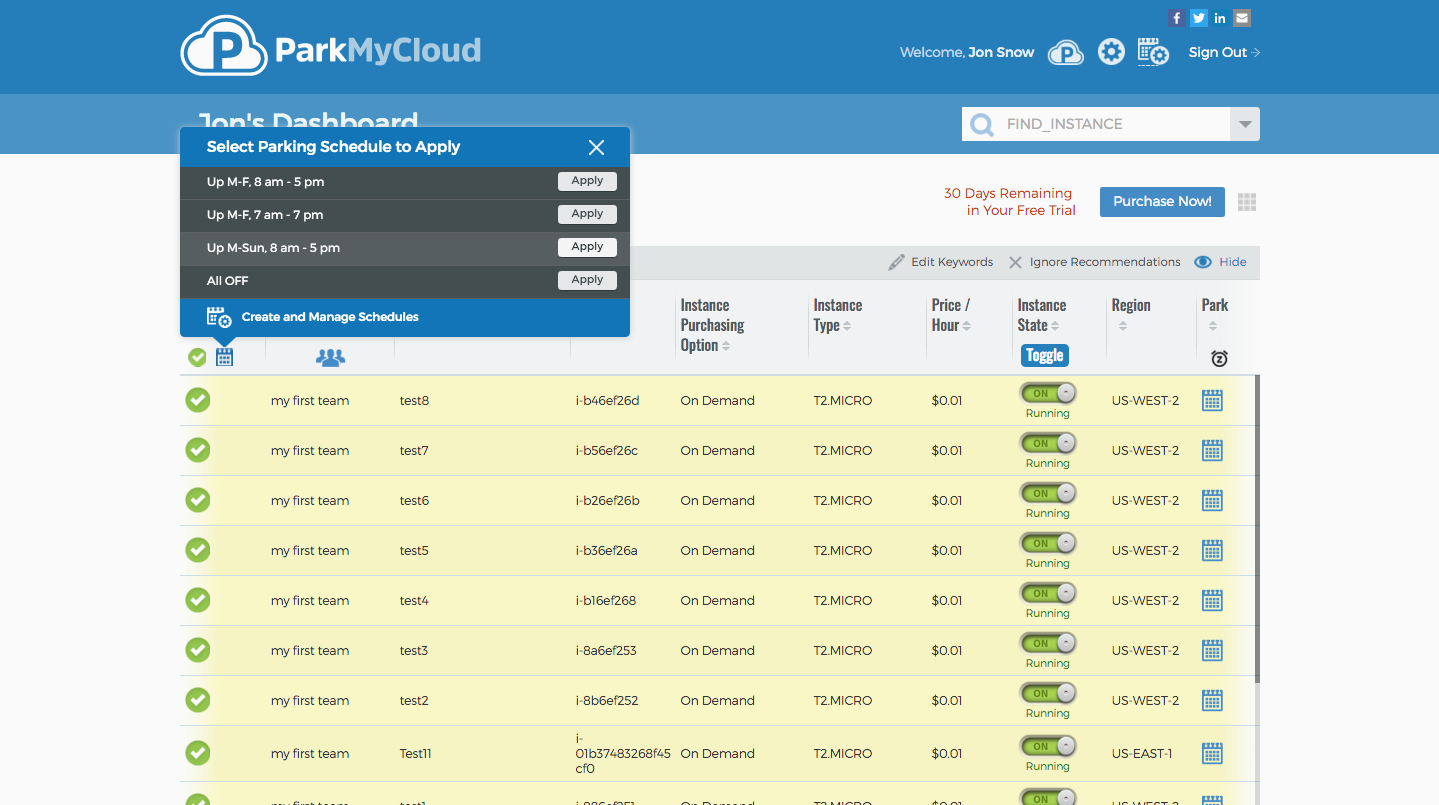
Step 7 - Park your unused EC2 resources and save
Here, you may see several instances recommended for parking. These recommendations are based on keywords found in the instance metadata and tags. You can click on “Edit Keywords” to see which keywords are used. Don’t like ours? Replace them with your keywords. The system will be on the lookout for instances which match the keywords you use. It’s that simple!
Next, select these instances and apply one or more of our parking schedules, or make some of your own (one per instance). It really is that simple.
Once you're finished there, simply select "Hide" to go back to the main dashboard. You notice the projected 30-day savings based on the schedules and instances you chose. As those schedules actually begin parking instances, you will notice a second number displayed showing your total savings month-to-date.
Go to http://www.parkmycloud.com for more information. If you questions, contact Support.
Related Articles
Simple ParkMyCloud Policies for IAM Roles or IAM Users
Here are a few simple policies you can attach to your IAM Roles or IAM Users, which grant them the minimum permissions necessary to run ParkMyCloud. You can use any of these as an Inline Policy for specific users or groups, or you can create this as ...Setting Up OneLogin As An IdP Server for ParkMyCloud
The purpose of this article is to guide you in setting up OneLogin as an Identity Provider (IdP). For more information, consult the OneLogin Documentation. Spoiler Alert: Using the semi-automated configuration approach (uploading an IdP metadata ...Setting Up Ping Identity As An IdP Server for ParkMyCloud
The purpose of this article is to guide you in setting up Ping as an Identity Provider (IdP). In this example we will use PingOne for SaaS applications. For more information, consult the Ping Documentation. To start with, log in to ParkMyCloud as a ...For AWS Admins: How to Create an IAM Role in AWS for ParkMyCloud
If you are new to creating IAM Roles within the AWS console, here is an instructional video on how to create a role within your AWS account for the ParkMyCloud application. A couple of things to note: IAM Roles are the preferred approach by AWS When ...For Users: How to Add an AWS Account to ParkMyCloud Using IAM Roles
With the release of v2.3, ParkMyCloud supports adding AWS accounts to the application using IAM Roles. This instructional video walks you through the process.